- Wikimedia Commons
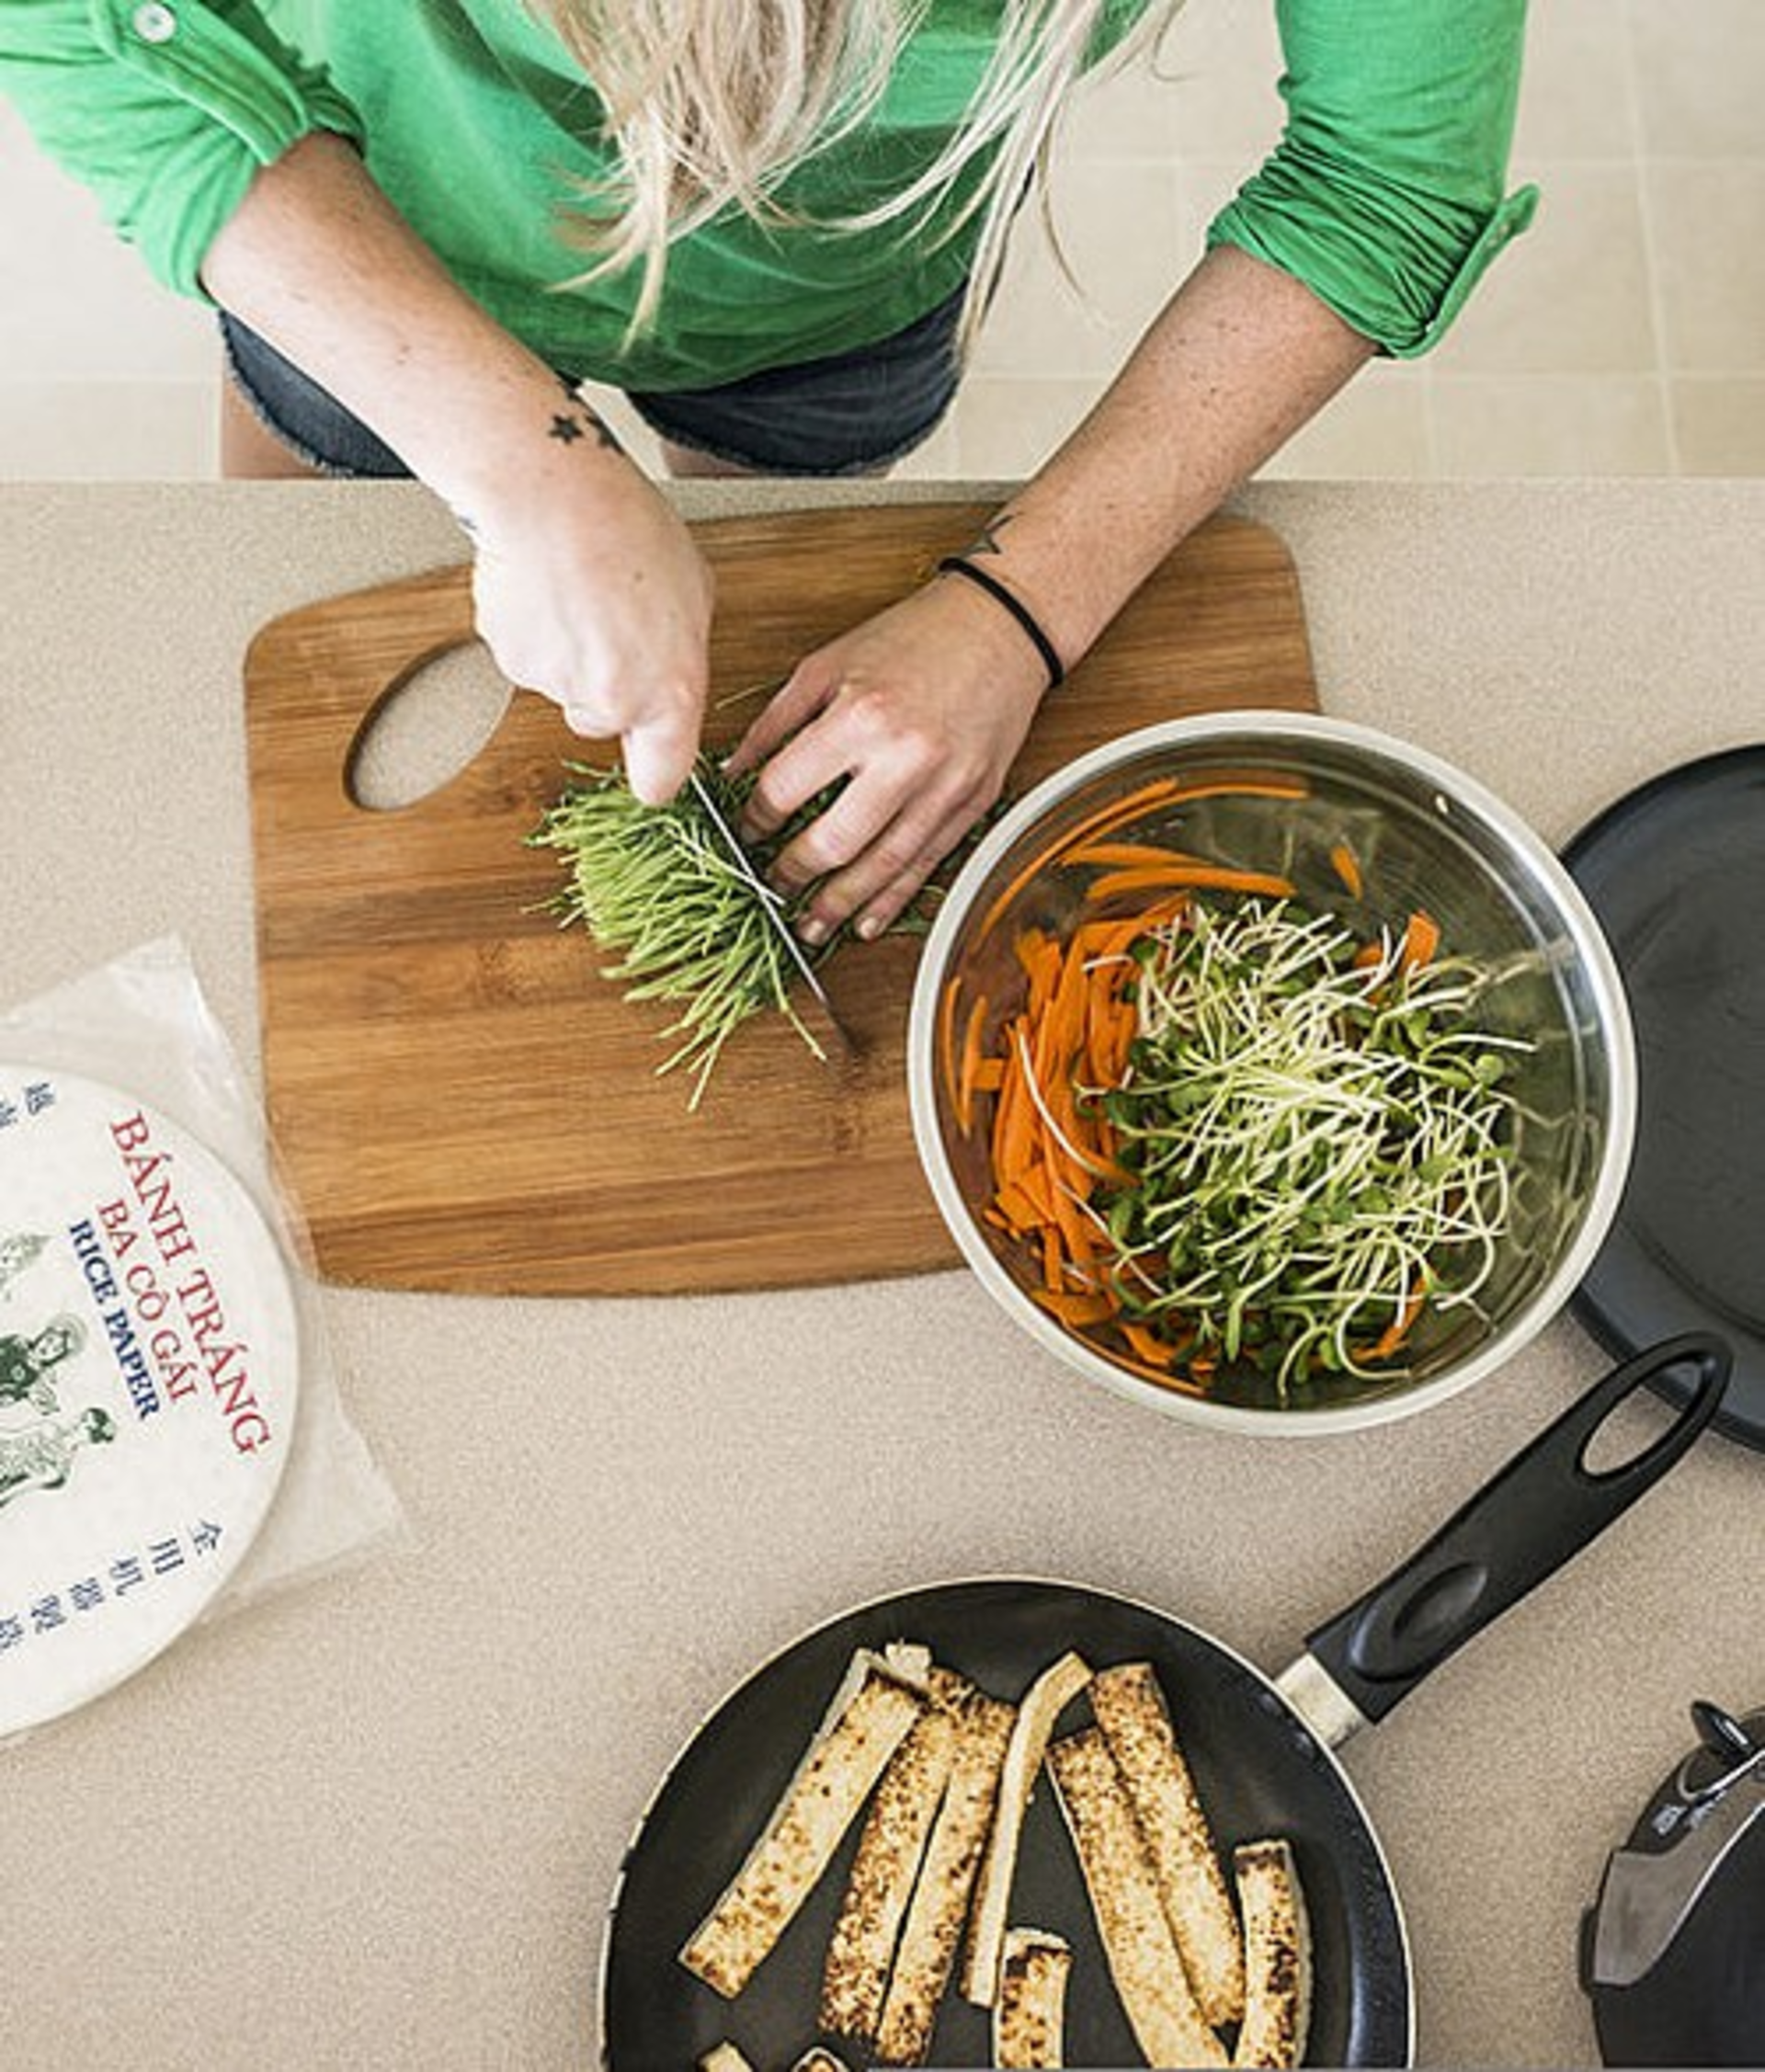
- HOW TO: Get cooking with these easy-to-learn cooking habits.
Being a cooking instructor, I’m often quizzed about simple cooking tips that anyone can learn. It inspired me to compile this first installment of basic skills that every home cook should master. Even if you're a pro, read along and perhaps you’ll pick up a thing or two.
Achieving an attractive pan-seared crisp exterior on meat, poultry and fish (or just about anything) is quite simple, but there are a few rules to follow. First, the pan and oil in the pan used to cook the product must be hot — depending on what you’re cooking, medium-high heat works best. Sprinkle some pepper into the pan to see if the oil is ready: if it sizzles upon contact, you’re good to go.
Next, the item should be placed presentation (top) side down and not be moved for at least a minute (depending on its thickness). By letting the protein sear for an ample amount of time on each side, the heat from the pan creates caramelization on the protein’s surface which creates that browned crust — thus the item won’t stick to the pan and can easily be flipped to the opposite side or removed from the pan. So, as much as you want to poke, prod, and mess with the protein, DON’T DO IT. If you mess with it before it has created that crust, it will surely stick to the pan and tear (even if you’re using a non-stick pan). Third, the best pans to use for this technique are ones that can retain high levels of heat, like cast iron, hard-anodized, and stainless steel. If you’re following the proper searing procedures, a non-stick coated pan isn’t even needed.
Once you’ve successfully seared your protein and removed it from the pan, the leftover browned bits on the bottom of the pan (“fond”) can be the base for a great pan sauce. If the pan is dry, add a little more cooking oil and put it over medium heat. Start by sautéing onions and/or garlic, if using, and deglaze the pan with a little wine, a small amount of liquor, or a cup of broth, scraping up the fond on the bottom of the pan. Set heat to high and reduce the liquid to at least one-third its original volume. If you used wine or liquor, about a cup of broth can be added and then reduced to tone done the strong flavors of the reduced alcohol. The sauce can then be removed from the heat and have cream or butter added to it to make it silky and smooth. Season to taste with salt and pepper and pour it over your cooked protein.
No, blanching has nothing to do with Blanche Devereaux from The Golden Girls. This technique is about quickly submerging certain vegetables in boiling water to cook them to their proper degree of doneness. It works well for vegetables like asparagus, broccoli, cauliflower, and green beans. It softens them a bit, but keeps them a little crunchy and helps to retain their nutrients. Pop a handful of veggies into a boiling pot of water, let them float for about 30 seconds to one minute, then submerge in cold or icy water to immediately stop the cooking process. If doing this ahead of time and the goal is to later serve the vegetables hot, slightly under cook them in the blanching water, shock in ice water and drain them. To reheat later, simply sauté them in a pan over medium heat until they’re just warm. Blanching can even be used to help remove the peel from tomatoes without turning them to complete mush on the inside.
To get sweet, browned, caramelized onions, simply sauté sliced onions in cooking oil or butter over medium heat, stirring occasionally. As onions cook, they release moisture and sugars. Lower the pan heat when they start to brown and stick to the bottom of the pan to prevent them from scorching. Depending on how many onions you’re cooking, this process should take between 30-45 minutes on the stovetop. I find that tenting them with aluminum foil speeds up the process a bit, but they must be stirred more often because they’re cooking a bit faster and have a greater chance of burning.